
Repairing a Zipper That Came Off One Side: Step-by-Step Guide
Zippers are essential components of our daily wardrobes, playing a pivotal role in the functionality of everything from jackets to bags. A zipper malfunction can feel like a small disaster; after all, a non-working zipper can mean the difference between an outfit that looks put-together and one that’s less polished. Fortunately, repairing a zipper that has come off one side is a task many can tackle successfully with the right guidance and tools. With patience and some handy instructions at your fingertips, you can reclaim the utility of your favorite zipper in no time. This guide breaks down the repair process into easily digestible steps while giving you a deeper understanding of common zipper issues. By the end of this process, you’ll feel empowered to tackle zipper repairs with confidence and ease, reducing waste and saving money in the process.
Understanding the Problem
Before attempting any repairs, it’s crucial to understand why zippers come off track in the first place. A range of factors can contribute to their failure: wear and tear, fabric snags, and even overloading the zipper can cause it to malfunction. Knowing these causes can help you avoid future issues and make your repairs more effective. Common problems you may encounter include the slider slipping off one side, broken teeth, or a misaligned track. It’s always best to assess the damage before you start. Is the slider still functional, or has it completely broken? Is the zipper itself frayed or damaged? These questions will help determine your next steps.
Tools and Materials Needed
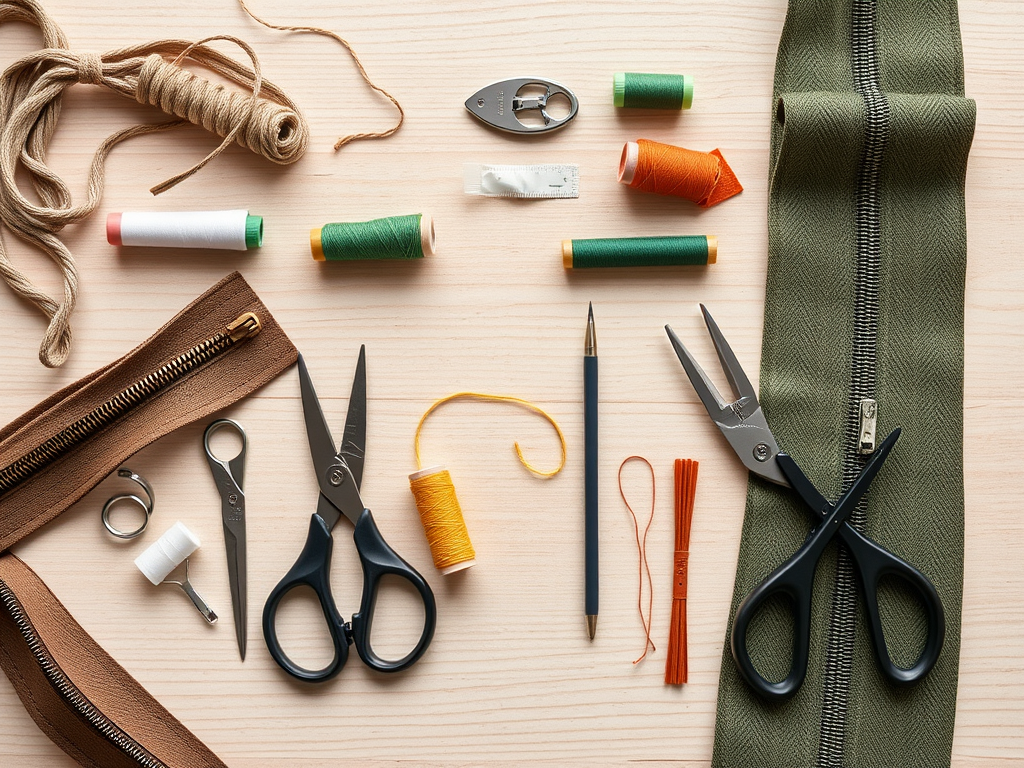
Before diving into the repair process, it’s prudent to gather all necessary tools and materials for an efficient and seamless experience. Having everything at hand not only saves you from running around but also allows you to focus on the task at hand. Here’s a list of items you might need:
- Needle and Thread
- Pliers
- Replacement Zipper (if needed)
- Scissors
- Fabric Glue (if applicable)
Step-by-Step Instructions
Now that you have the tools ready and understand the problem, let’s walk through the step-by-step instructions to repair your zipper effectively. Remember that attention to detail is vital, and taking your time will yield the best results.
Assessing the Damage
Begin by examining the zipper carefully to determine the extent of the damage. Look for signs of wear; check if the zipper slider is still functional, and inspect the teeth for any missing or damaged parts. Here’s what you can consider:
- Is the zipper slider intact?
- Are all the teeth present and aligned?
- Are there any frayed edges affecting the functionality?
Reattaching the Zipper Slider
If the slider has simply come off one side but is still intact, you can reattach it. Here’s a simple step to follow:
- Align the fabric edges with the zipper tape.
- Gently guide the slider back onto the zipper teeth.
While reattaching, make sure the fabric does not get caught in the zipper, as that can cause further issues down the line. A steady hand and a little patience will go a long way here.
Fixing Misaligned Teeth
Sometimes, the teeth may be misaligned, preventing the zipper from functioning correctly. This is typically seen in older zippers or those subjected to excessive tension. If you’re faced with this situation, take the following steps:
| Action | Description |
|---|---|
| Reposition Teeth | Use pliers to gently reposition any misaligned teeth. |
| Trim Frayed Edges | If necessary, snip any frayed edges to ensure a smoother fit. |
Taking these actions can greatly improve the smooth functioning of your zipper, making it easier later on to slide it up and down without issues.
Replacing the Zipper (if needed)
If you determine that the zipper is beyond repair, replacing it is the best option. This might sound daunting, but it doesn’t have to be. Follow these steps:
- Carefully remove the old zipper by cutting the stitching.
- Position the new zipper in place, making sure it aligns well with the fabric.
- Sew it securely, paying close attention to the stitching to ensure it lasts.
Replacing a zipper can breathe new life into your garment or accessory and is a skill worth mastering.
Tips for Preventing Future Zipper Issues
Once you’ve successfully repaired or replaced your zipper, adopting preventative measures can help prolong its life. Here are a few tips to keep in mind:
- Avoid over-stretching the zipper when zipping up or down.
- Regularly apply zipper lubricant to ensure smooth operation.
- Store garments with zippers properly—hanging them instead of bunching them up will keep them in good shape.
Conclusion
Repairing a zipper that has come off one side is a manageable task that can save both time and money. With the right tools and a little patience, you can restore your zipper to full functionality. Also, remember that regular preventive maintenance can help avoid future zipper woes. With this guide, you now possess the knowledge and skills to tackle zipper repairs with confidence, ensuring your wardrobe remains both functional and stylish.
Frequently Asked Questions
- Can I use any thread for sewing the zipper? No, it’s best to use a thread that matches the fabric for durability and aesthetic purposes.
- What if the zipper teeth are broken? If the teeth are broken, you may need to replace the entire zipper.
- How can I prevent my zipper from sticking? Apply a small amount of zipper lubricant to keep it functioning smoothly.
- Is it worth trying to fix a zipper? Yes, repairing a zipper can often be more cost-effective than replacing the entire item.
- Can I use fabric glue to fix a zipper? Fabric glue can be a temporary fix but is not a long-term solution for structural repairs.